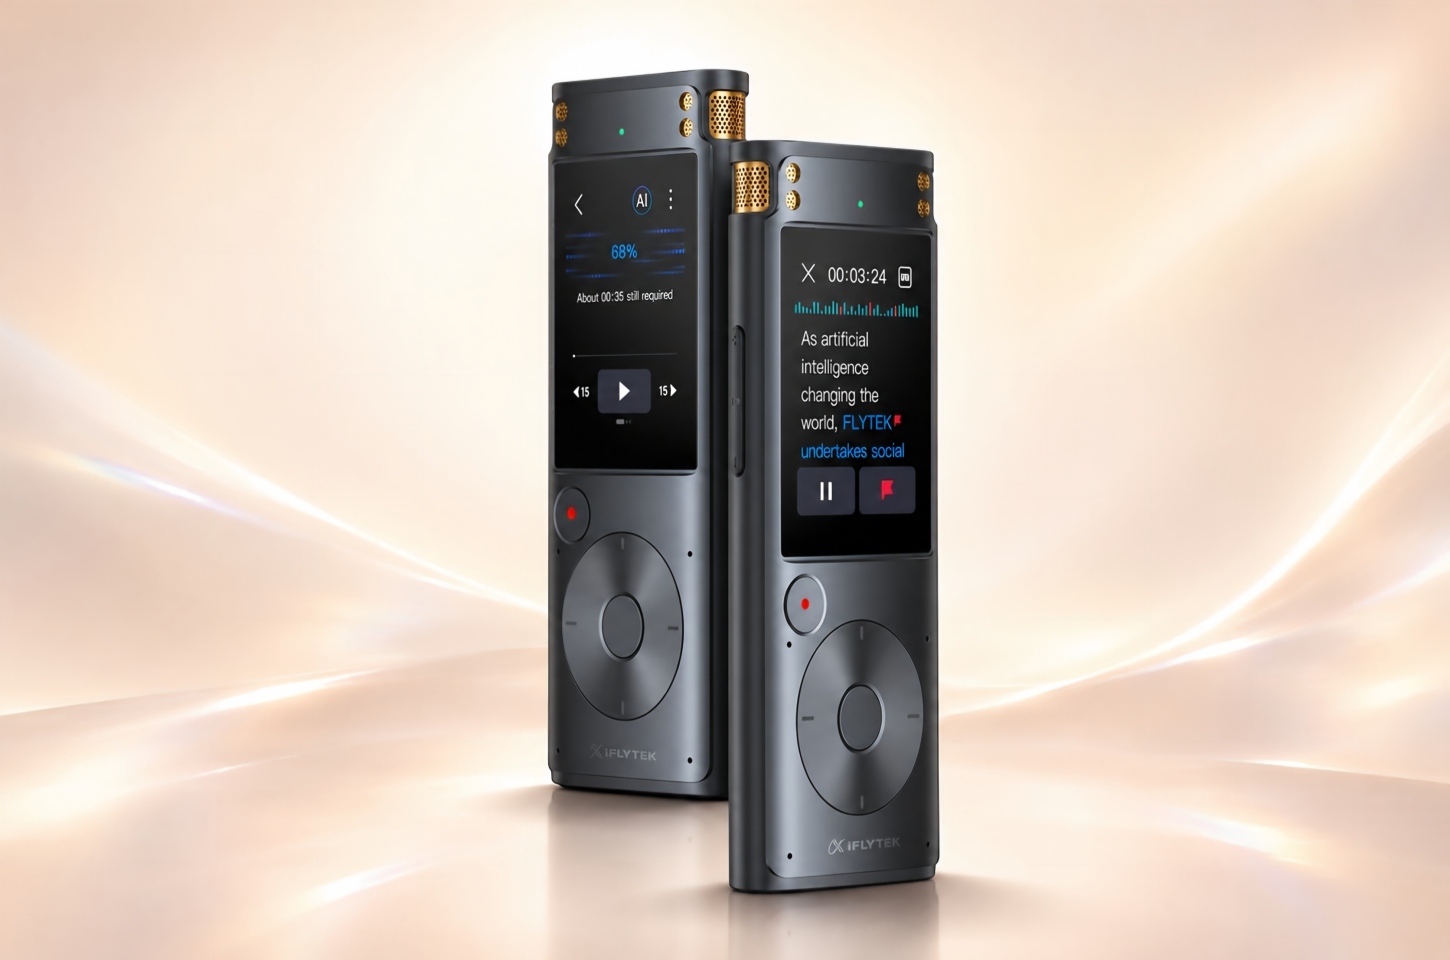
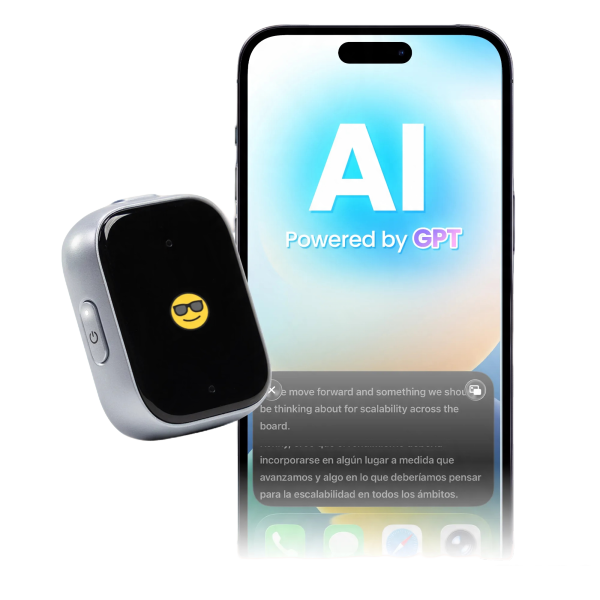
iFLYTEK AI Recorder P1

iFLYTEK AI Recorder S6
After recording a meeting, interview, lecture, or consultation, you may need to move the original audio to a computer, download the transcript, or create a backup.
The iFLYTEK voice recorder range supports different export methods depending on the model. These include app synchronization, Wi-Fi transfer, web access, USB-C transfer, and export to a USB drive.
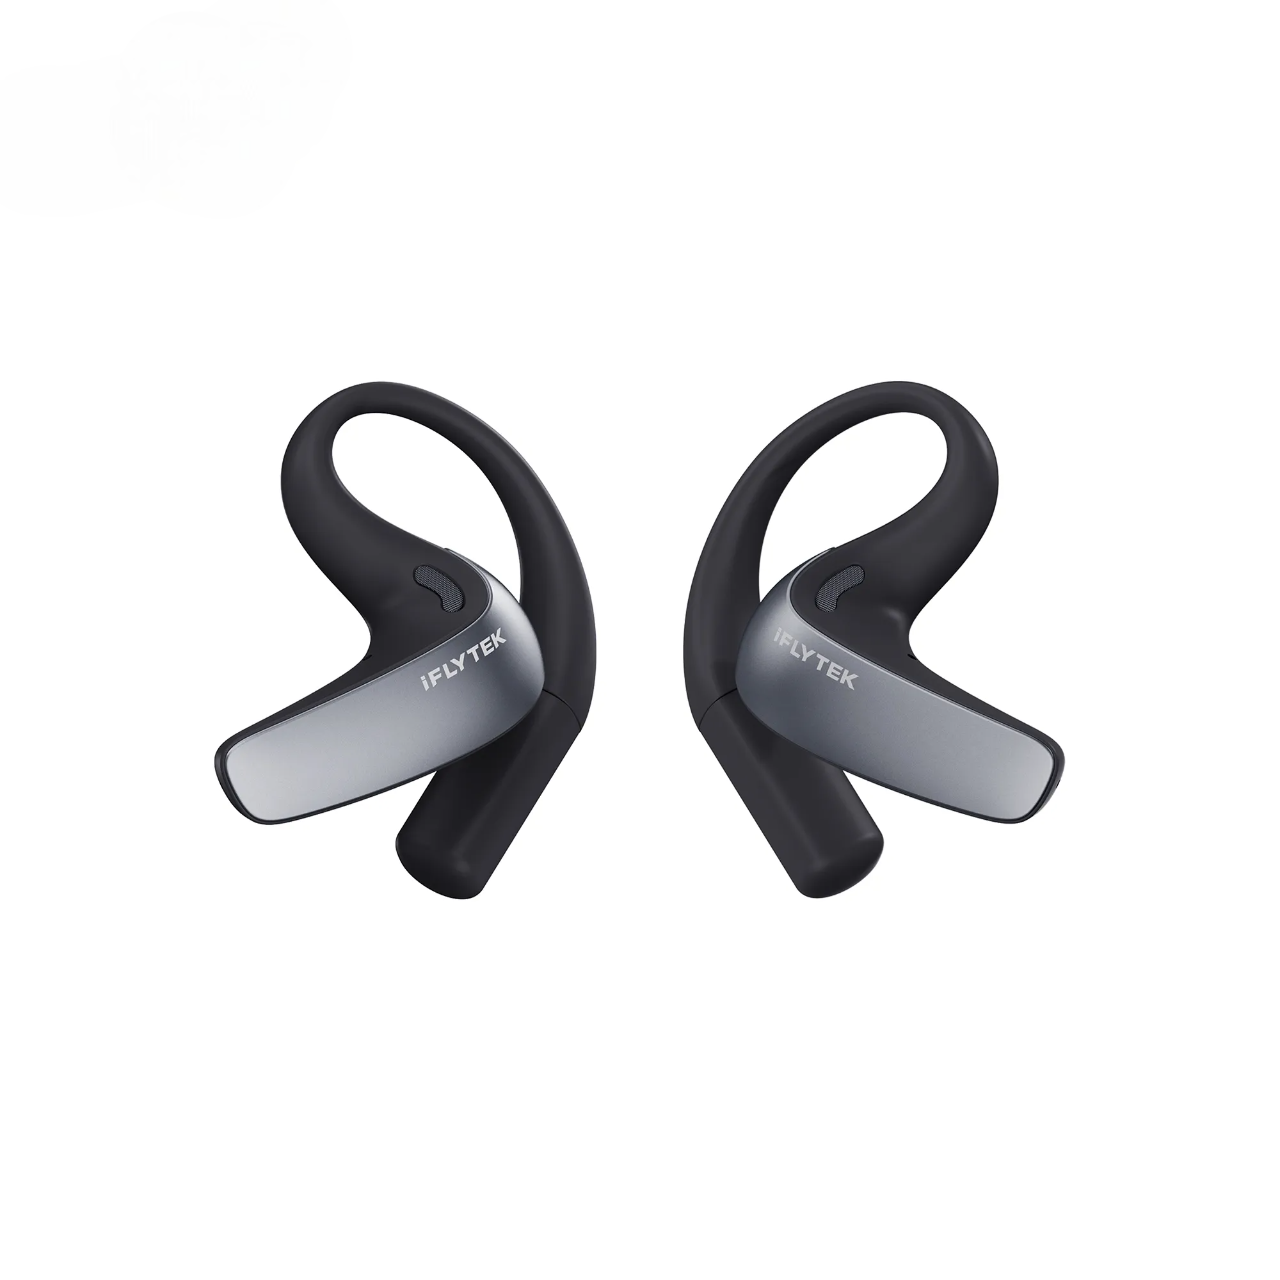
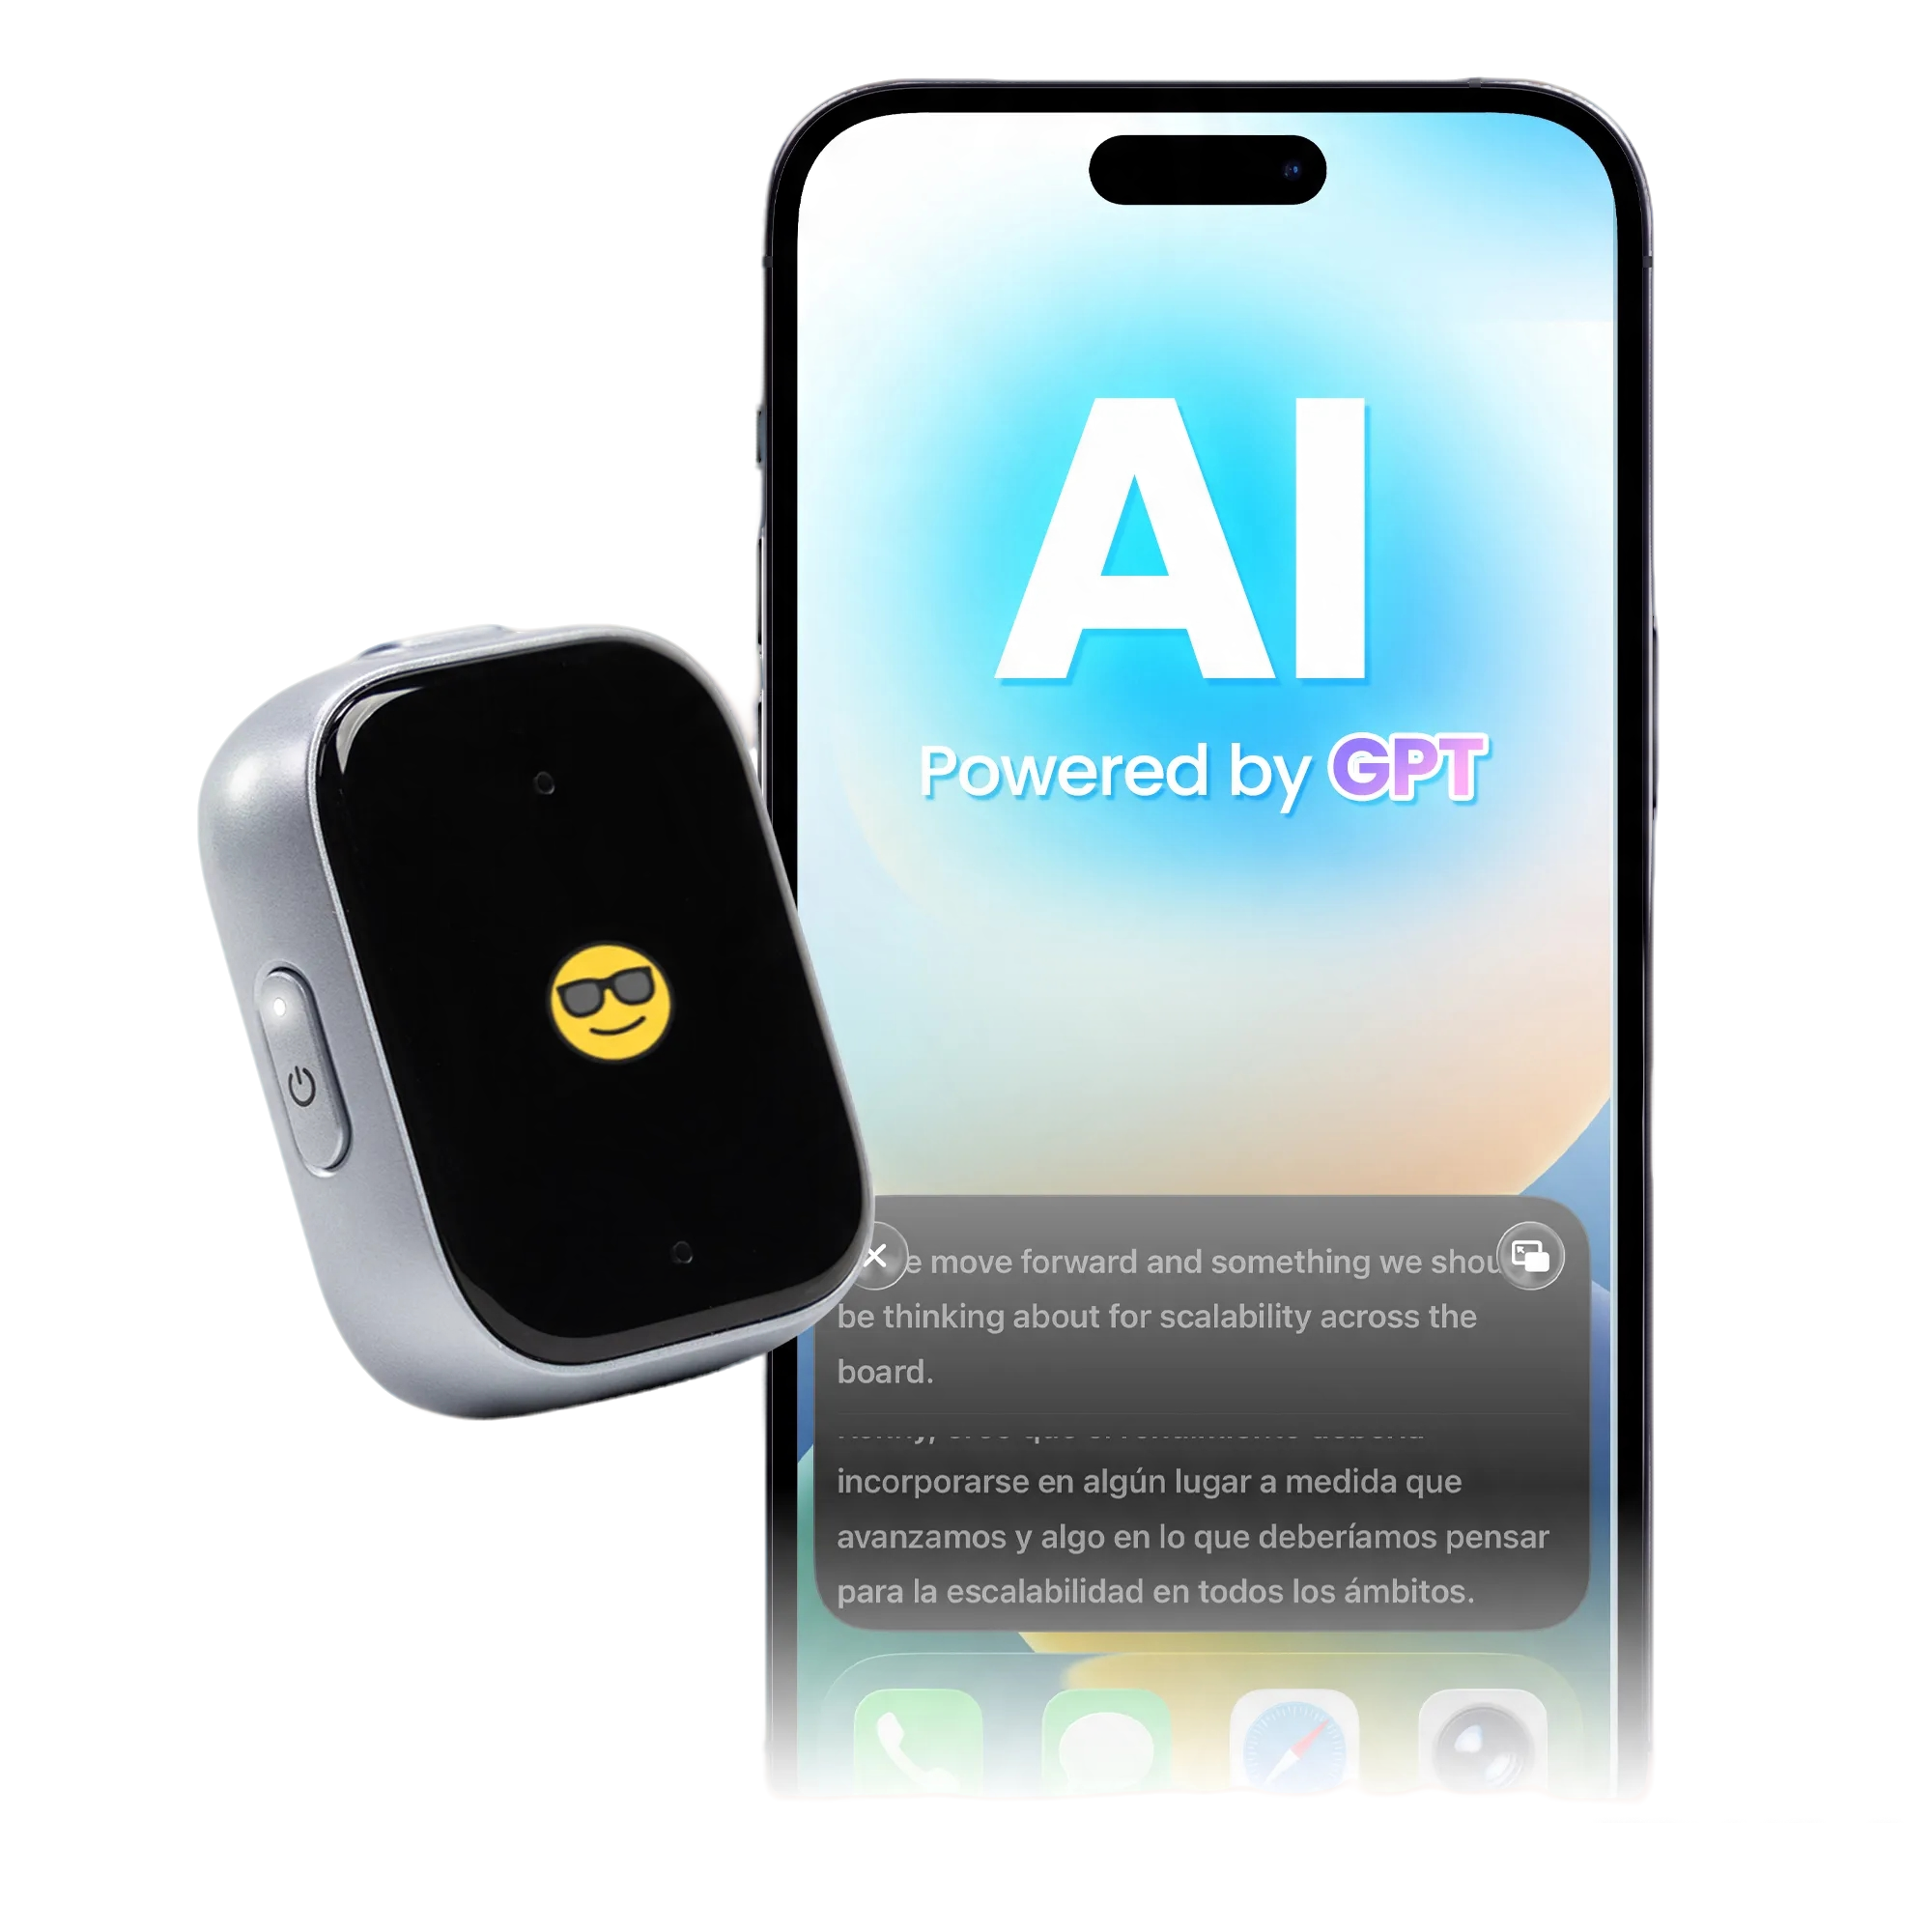
This guide covers the iFLYTEK AI Recorder P1, P1 Pro, Smart Recorder, and S6.
Choose the Right Export Method
|
Recorder |
Main export options |
|
Wi-Fi transfer to the app, cloud backup, and web access |
|
|
App and Wi-Fi transfer, cloud access, and USB-C export |
|
|
Direct USB transfer to a Windows or Mac computer |
|
|
Web synchronization, computer transfer, and export to a USB drive |
Syncing and exporting are different. Syncing makes a file available through another signed-in device or web workspace. Exporting creates a separate copy that you can store, rename, edit, or move elsewhere.
Before You Export
Complete the following checks before transferring your files:
- Stop and save the recording.
- Wait for transcription to finish if you need the text.
- Review important names, figures, and speaker labels.
- Use a data-capable USB cable for wired transfers.
- Check that the destination has enough storage.
For important sessions, export both the original audio and the transcript. The text is easier to search, while the audio remains the source for checking quotations or transcription errors.
If you have an existing audio file but have not created the text yet, see our guide on how to transcribe voice memos.
How to Export from iFLYTEK AI Recorder P1
The P1 uses the Deepting app for wireless synchronization and file management.
- Finish and save the recording on the P1.
- Open the Deepting app and sign in to the account paired with the recorder.
- Open the recording list and synchronize the selected recording over Wi-Fi.
- Wait for the audio transfer and transcription to finish.
- Open the synchronized recording and review the transcript, speaker labels, and summary.
- Use the available export, download, or share controls to save the audio and transcript outside the app.
- Open the exported files to confirm that both copies are complete.
Synchronization makes the recording available in Deepting and its connected web workflow, but it does not necessarily create an independent file in your phone’s or computer’s local storage. Complete the export or download step before treating the recording as backed up.
How to Export from iFLYTEK AI Recorder P1 Pro
The P1 Pro supports app and web management while also allowing direct USB-C export.
Export Through the App
Open the Deepting app, sign in to the account paired with the P1 Pro, and synchronize the saved recording over Wi-Fi. After the audio and transcription have finished processing, open the recording and review the transcript. Use the available export, download, or share controls to save independent copies of the audio and transcript, then open both files to verify the export.
Export to a Computer with USB-C
- Stop the recording and unlock the P1 Pro.
- Connect it to the computer using a USB-C data cable.
- Select the file-transfer or export option if a USB prompt appears.
- Open the recorder storage on the computer.
- Copy the required recording to a local folder.
- Check the copied file, then safely eject the recorder.
USB-C export is useful when network access is limited or a local copy is required.
How to Export from iFLYTEK Smart Recorder
The Smart Recorder exports both the original audio and the transcribed text through USB. Audio files are exported in WAV format, while transcripts are exported as DOCX files.
- Turn on the recorder and connect it to the computer through USB.
- Unlock the recorder and select Export Files when prompted.
- Open the SR302 Pro storage drive on the computer.
- Open the Record File folder.
- Copy the matching WAV audio file and DOCX transcript to your computer.
- Play the copied audio and open the DOCX file to confirm that both exports are complete before deleting anything from the recorder.
On Windows, the recorder appears alongside the computer’s other drives. A Mac may require Android File Transfer or another MTP-compatible file-transfer utility before the recorder storage becomes visible.
How to Export from iFLYTEK AI Recorder S6
The S6 provides three main ways to access and export files.
Synchronize to the Web
Save the recording and allow it to synchronize to the linked web workspace. Open the workspace on a computer to review the recording and transcript, then use the available download or export option.
Transfer to a Computer
- Unlock the S6 and connect it with a compatible USB data cable.
- Select the file-transfer or export option.
- Open the S6 storage on the computer.
- Copy the required files to your destination folder.
- Verify the files and safely eject the recorder.
Export to a USB Drive
- Connect a compatible USB storage device to the S6.
- Open the recording or file-management area.
- Select the required file and choose the available export or copy action.
- Select the USB drive as the destination.
- Wait for the transfer to finish before removing the drive.
Keep the S6 charged during large transfers so that the export is not interrupted.

Common Export Problems
The Recorder Charges but Does Not Transfer Files
The cable may only support charging. Try a data-capable cable, unlock the recorder, and select the correct USB mode.
The Recorder Does Not Appear on the Computer
Reconnect it after unlocking the screen and selecting file transfer. Try another USB port. On a Mac, check whether an MTP-compatible transfer utility is needed.
Wireless Synchronization Is Slow
Use a stable network and avoid switching networks during the transfer. Long recordings take more time to upload and process.
The Audio Is Available but the Transcript Is Missing
Audio transfer may finish before transcription. Reopen the file, confirm the transcription language, and wait for processing to complete.
The Transcript Contains Errors
Compare the transcript with the original audio and correct names, acronyms, figures, and speaker labels before sharing or publishing it.
Clear audio also improves transcription quality. If your transcript regularly contains errors, review these practical tips on how to record voice effectively.
FAQ
Can I Transfer an iFLYTEK Recording to a Computer?
Yes. P1 uses app, cloud, and web-centered management. P1 Pro adds USB-C export. Smart Recorder and S6 support direct wired computer transfer, while S6 can also export to a USB drive.
Do I Need Wi-Fi to Export a Recording?
Not always. App synchronization and web access need a connection, but P1 Pro, Smart Recorder, and S6 support local wired transfer.
Should I Export the Audio or the Transcript?
Export both when the content is important. Use the transcript for searching and editing, and keep the audio for verification.
Can I Delete the Recording After Export?
First, open the exported audio and check its duration. Confirm that the transcript belongs to the same session and that both files are complete.
Keep any copies required by your organization or project before clearing the recorder.
A Simple Export Routine
Whichever iFLYTEK recorder you use, follow the same routine:
- Save the recording.
- Finish and review the transcript.
- Export the audio and text.
- Verify both copies.
- Store them in a clearly named folder.
P1 offers a convenient mobile and web workflow. P1 Pro adds USB-C flexibility. Smart Recorder provides straightforward computer transfer, while S6 combines wired export, USB-drive support, and web synchronization for professional file management.
Once your recording and transcript have been exported, you can use them to create summaries, decisions, and follow-up tasks. For the next step, learn how to write meeting minutes from audio recordings.